
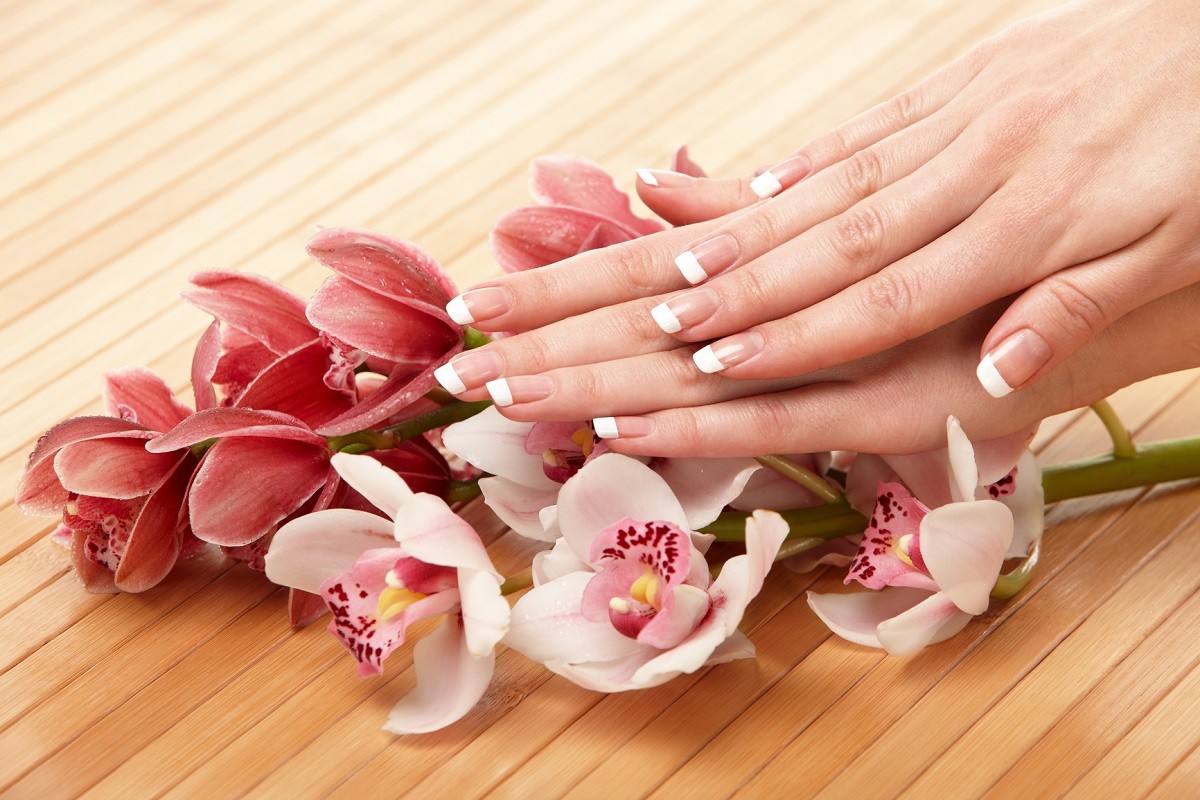
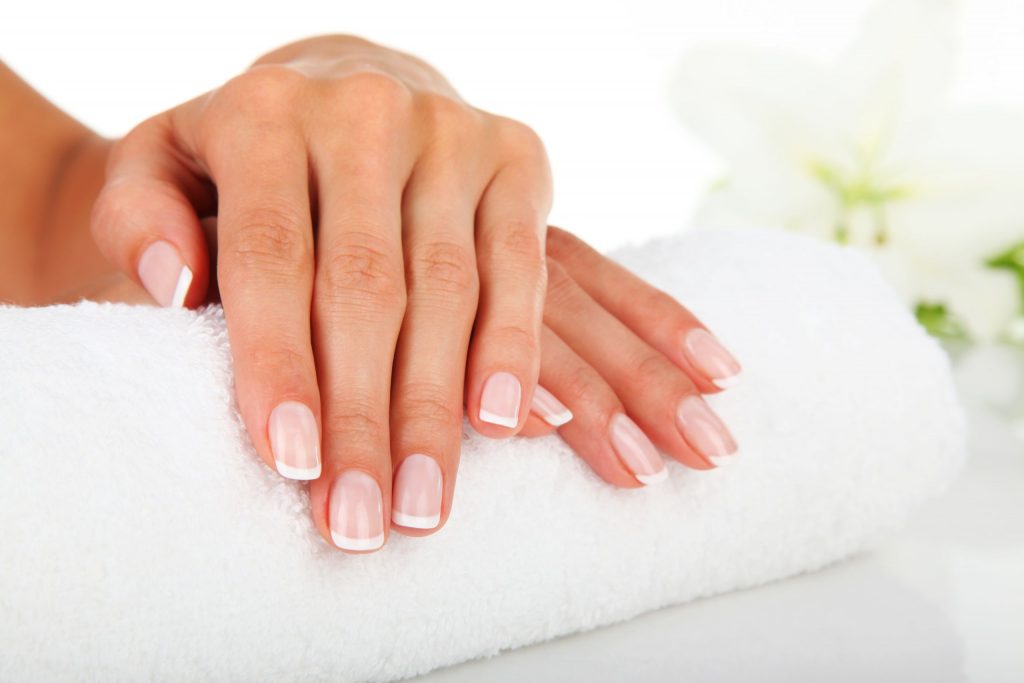
French manicures are a simple, yet elegant way to dress up your nails. The style is a professional one and can be used even in the most elegant of settings. It also ensures that your nails look their best at all times.
In addition, the squared off style helps keep fingernails strong and prevent breakage. There’s no reason to stick with white and clear nail polish for your manicure.
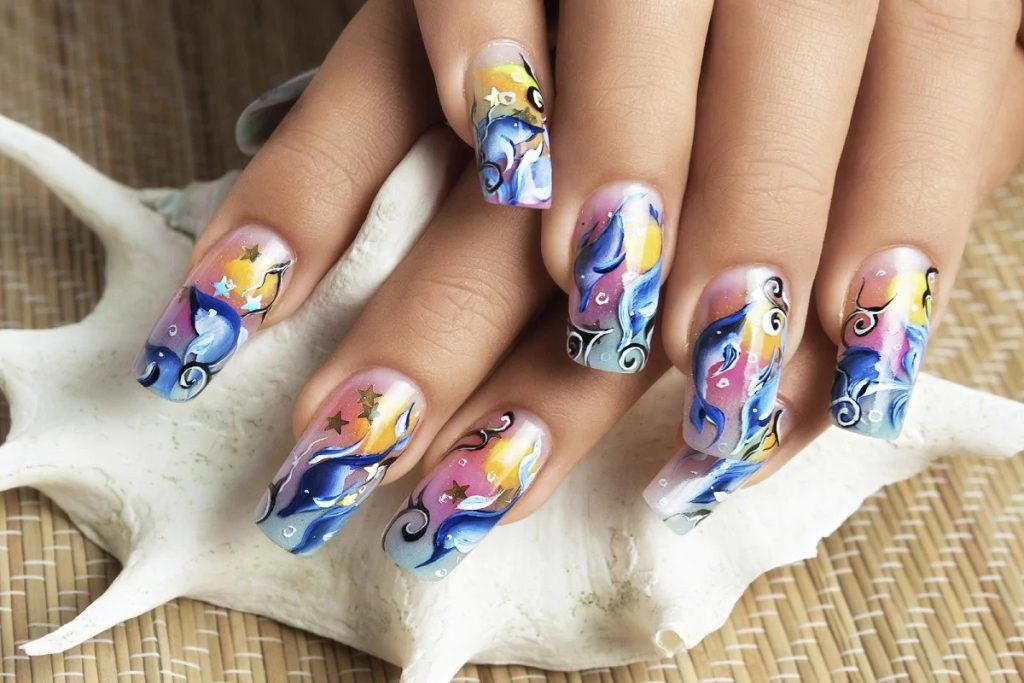
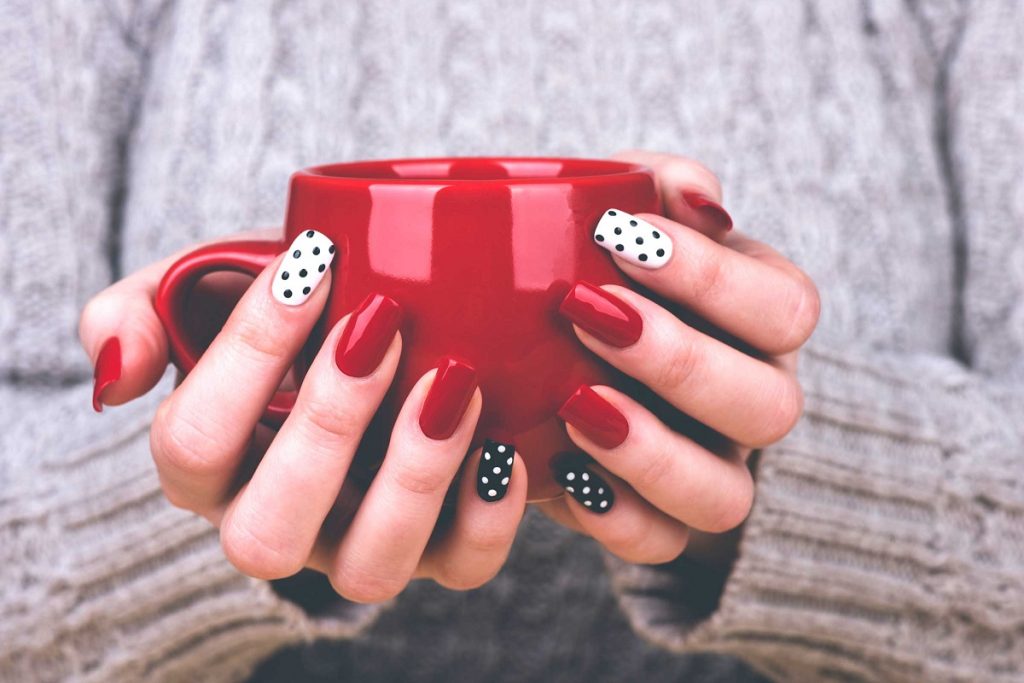
Try a light pink with a shimmer gloss on top or a baby blue. The possibilities are endless. Here are a few important tips to follow to get a perfect French manicure at home.
1. Assemble your supplies

Make sure you have everything you need for the French manicure. You’ll need a nail file, nail polish remover, and nail polish.
You should have a nail polish in an opaque color, as well as a clear one. The clear polish can be tinted to compliment the opaque color. Another un-tinted, clear polish is a good idea, as well.
2. Prepare your fingernails
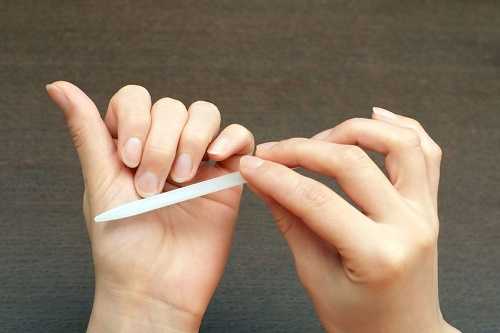
Shape is very important when it comes to a good manicure. While the trending nail shape may change over the years, the slightly squared off look is best for French manicures.
You can achieve this by gently filing the nail flat at the end and then rounding the corners slightly. Always file from the center of the fingernail and move the file toward the edge. Moving in this direction will help prevent splitting nails and irregularities that can cause breakage later on.
3. Soften the cuticles
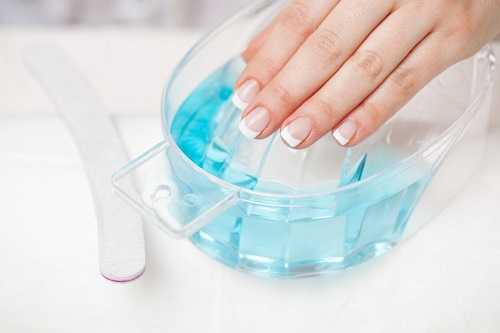
Soak your fingers in warm water for five minutes. This will help soften the nails and the cuticles alike.
You can use an orange wood stick to gently push the cuticles back. Moving the cuticles will give you more space for the manicure and help your fingernails look longer and more elegant.
4. Clean the nails
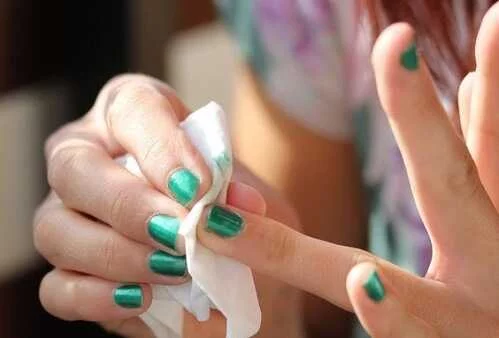
Removing an old nail polish is an essential step in prepping for a manicure. Even if you don’t have any old polish, it’s a good idea to wipe your nails down with nail polish remover anyway to remove grease. Residue on the nails may make it difficult for the polish to adhere correctly.
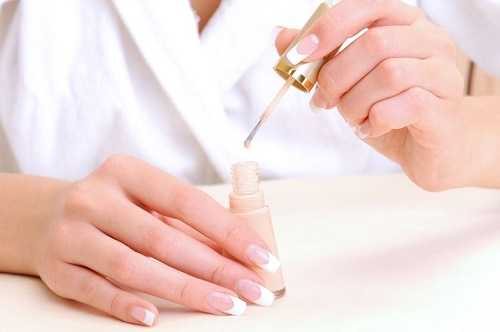
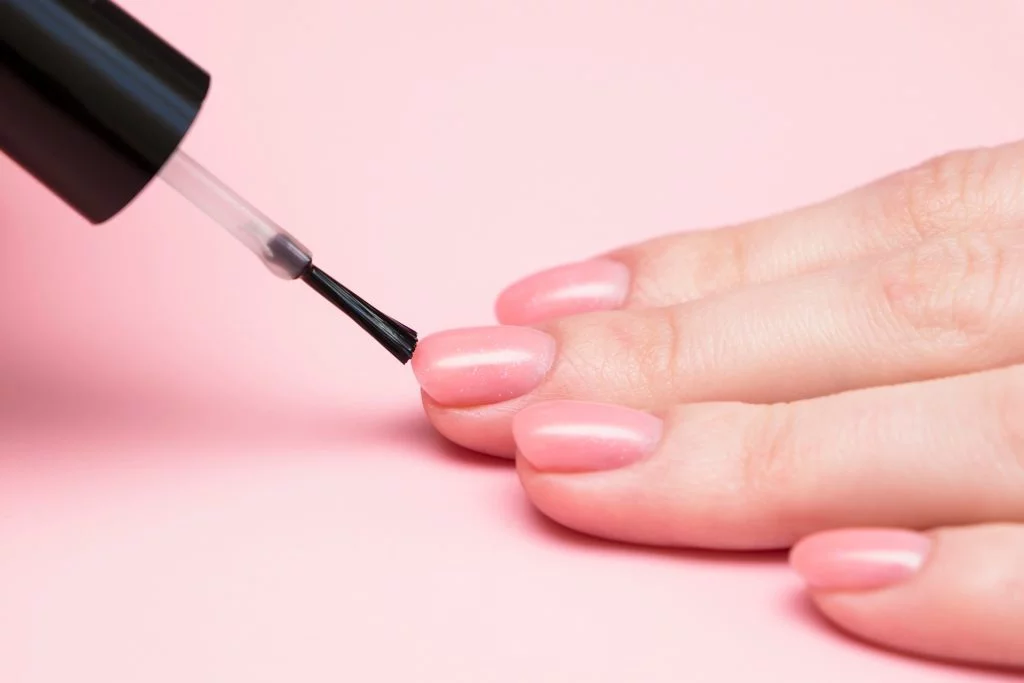
5. Apply base coat
Use a clear primer to ensure an even surface for the design. Apply it carefully, using three strokes from the bottom to the tip of each nail for the best results.
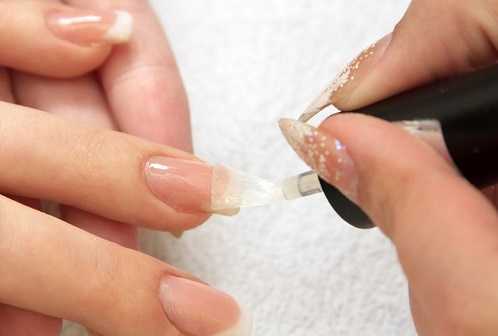
6. Stick on templates
You can find a number of French manicure template stickers to purchase, but you can also use round children’s stickers. Place the sticker or template the desired distance from the nail tip on each nail and press down firmly. It’s easiest to do all your nails at once so you don’t smudge the polish later.
7. Paint the tips
Use your chosen opaque color to paint the tips of your nails. Don’t worry if the polish goes over the sticker. Allow the polish to dry for at least 10 minutes.
The drier it is, the less likely it will interfere with the next layer. Remove the stickers. If any residue from the stickers stays on the nails, you can remove it very carefully with a small amount of nail polish remover.
More: 10 Simple Ways to Pamper Yourself
8. Add a clear coat

The next step is to apply the clear polish in an even layer. Use three strokes to cover the nail completely. Allow the polish to dry completely.
You may want to add another layer. The polish you use for the clear coat does not need to be completely clear. A slight tint or even glitter or shimmer polish can give you a unique look.
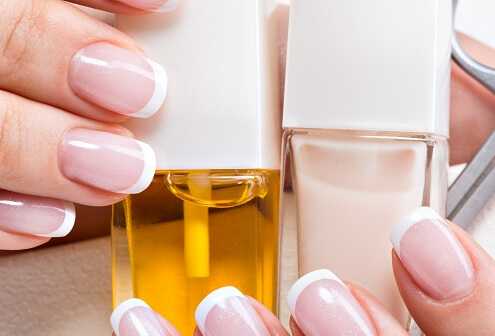
9. Seal
A top coat is a good idea if you want your nails to stay nice for a good long time. You can purchase a specially formulated top coat or you can simply use clear nail polish to add shine.
It will protect the polish underneath and will keep your nails looking great. The special top coats are designed to dry very hard for extra protection.
More: 10 Classic Makeup Looks to Try
10. Touch up as necessary

To ensure the manicure stays in great condition for as long as possible, you will need to do some touch ups here and there. You can apply a fresh layer of clear nail polish a couple of days after the original manicure to keep everything in place.
If there are any chips, carefully apply the corresponding color and let it dry. Then add another top coat. Your beautiful nails can last for over a week with careful fixes as needed.
More: 10 Best Techniques for Shaping Your Nails
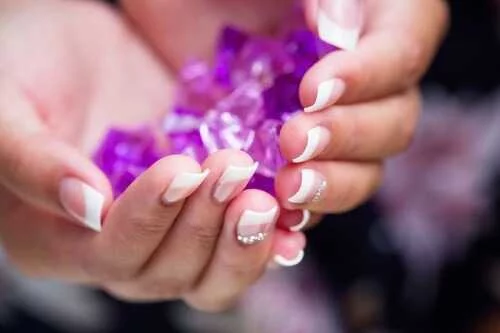
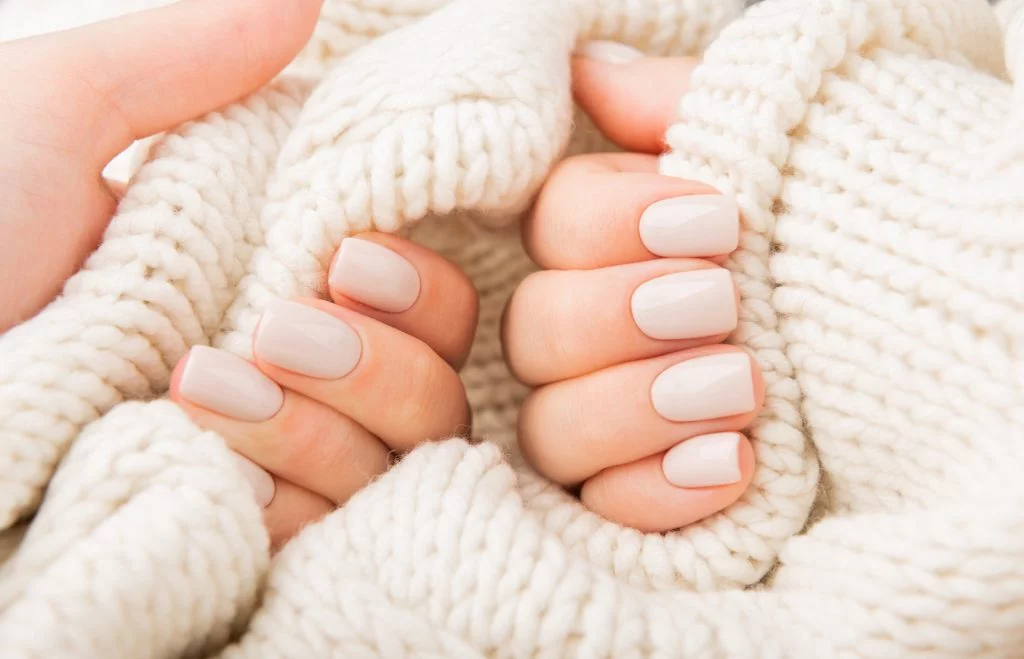
When you take the time to do a proper French manicure, it will last for more than a week. Make sure you follow each step for the best results.
You will have fingers to be proud of when you are finished, all while saving money by doing the manicure at home. It is also easy to customize the look of your nails with specific colors and textures of nail polish, so don’t be afraid to get creative.
